

Knowledge Base August 22, 2026
Home Gym Setup Guide: A Step-by-Step Plan to Build a Gym You'll Actually Use
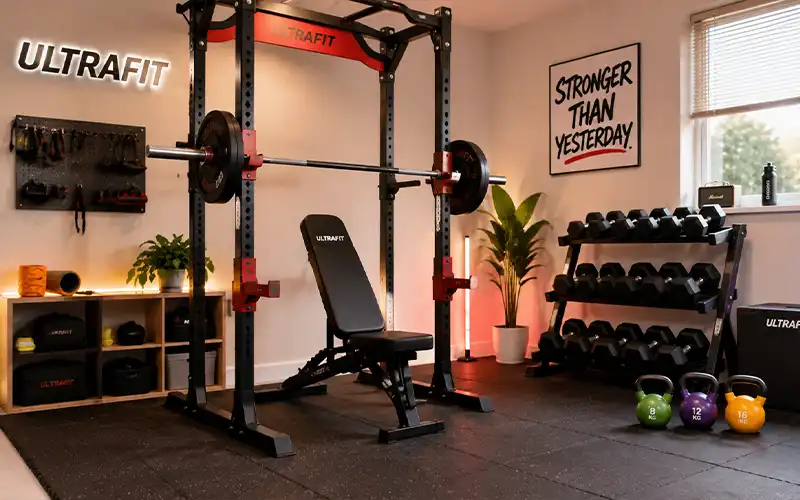
Quick Summary: Building a home gym is not about buying everything at once — it's about planning the space, setting a realistic budget, and buying in the right order.
This guide walks you through space planning, three setup configurations for different training styles, where to spend and where to save, and seven mistakes that waste money. For trainers and studio owners buying in quantity, there's also a section on buying manufacturer-direct.
Planning a gym? Get a factory-direct quote →
This guide walks you through space planning, three setup configurations for different training styles, where to spend and where to save, and seven mistakes that waste money. For trainers and studio owners buying in quantity, there's also a section on buying manufacturer-direct.
Planning a gym? Get a factory-direct quote →
Step 1: Plan Your Space Before You Buy Anything
The most common home gym mistake? Buying equipment first. Then you find it doesn't fit. Or worse — the room isn't suitable at all. Spend one hour measuring and planning before you spend any money.
Here's your pre-purchase checklist:
Minimum floor space. A working home gym needs about 12–15 square meters (130–160 sq ft) of usable floor. That may sound small. But remember: a power rack takes up about 1.2m × 1.5m. You also need room on both sides to load plates. You need room to step back for squats. You need room to lie down for bench press. In practice, set aside 3m × 3m for the rack zone and 1.5m × 1.5m for dumbbells.
Ceiling height. For overhead press, you need about 2.3m (7.5 ft) of clear height above the rack. If you want to do pull-ups on the rack's top bar, measure from the top of the bar — not from the floor. Low-ceiling basements kill more home gym plans than anything else. Measure first.
Floor condition. Put rubber flooring at least 15mm thick under the free-weight zone. It protects your floor and your equipment. If you live on an upper floor, think about weight. A loaded rack with 200kg of plates is heavy. A concrete ground floor is ideal. A wooden upper floor needs careful thought.
Ventilation and lighting. Training rooms get hot and humid fast. An open window or a fan changes everything. Good lighting is not a luxury. It is safety — especially when you lift heavy weights alone.
The layout rule of thumb: equipment against the walls, open space in the middle. Rack against one wall. Dumbbell rack against another. Kettlebells and bodyweight work in the center. You should never have to climb over equipment to reach something.
Step 2: Pick Your Lane — Three Home Gym Configurations
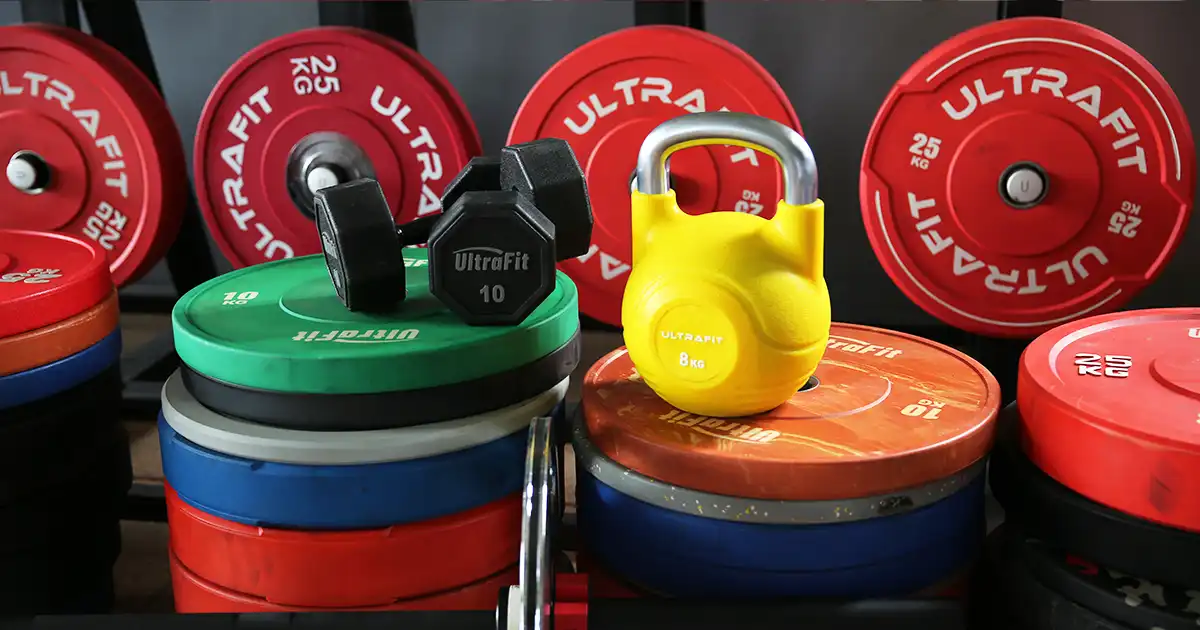
Every training style needs different equipment. Trying to build an "all-in-one" gym on day one means buying lots of things you rarely use. Pick the lane that matches how you actually train.
Why this matters: The strength-focused setup covers the "big three" lifts with the smallest equipment list. The mixed setup is what most people actually build in the end. Honestly, it is the smart default. The functional setup is cheap to start. But you will want to add weights quickly. Budget for that from the start.
If you are a personal trainer building a space to train clients (even at home), build the mixed setup plus a pair of kettlebells. It covers the widest range of client needs.
| Strength-Focused | Mixed / General | Functional / Conditioning | |
|---|---|---|---|
| Who it suits | Lifters focused on squat, bench, deadlift | Most home trainers doing a bit of everything | HIIT, kettlebell, bodyweight athletes |
| Core equipment | Power rack, Olympic barbell, 160–220kg plates, flat bench | Power rack, barbell + plates, adjustable bench, dumbbell set 5–25kg | Kettlebell set 8–32kg, wall balls, plyo box, battle ropes, slam balls |
| Optional add-ons | Specialty bars, plate tree, floor mats | Kettlebells, pull-up bar, storage rack | Pull-up bar, dip station, med balls |
| Budget level | Medium to high | Medium | Low to medium |
| Footprint | 9–12 m² | 12–15 m² | 6–9 m² |
Step 3: Where to Spend and Where to Save
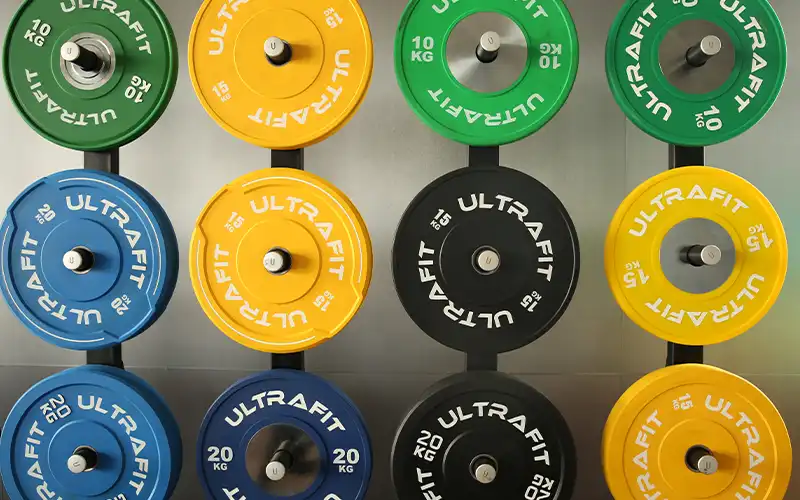
Not all equipment deserves the same budget. Some pieces are worth spending on. They determine your safety and your training experience every session. Others are fine to buy cheap. The difference barely shows in training.
Spend money on these:
• The rack. This is your safety system. A cheap rack with wobbly J-hooks is a hazard, not a bargain. Look for thick steel (11-gauge or similar), proper spotter bars, and fine hole spacing. These details are worth paying for.
• The barbell. Your hands touch it every session. A bar with rough knurling that bites your hands will ruin your training. So will a sleeve that seizes up. Look for a quality Olympic bar with a high tensile strength rating. It lasts for decades.
• Flooring. Cheap thin foam mats compress under a loaded rack. They do nothing to protect your floor. Thick rubber tiles (15mm+) are a one-time cost that protects everything else.
Save money on these:
• Weight plates. Training-grade rubber-coated plates are all you need. Competition-grade calibrated plates cost many times more. For 99% of home gyms, the difference does not matter.
• Dumbbells. Rubber hex dumbbells are the best value. Urethane is nicer. But it costs noticeably more. Skip it unless you are running a commercial space.
• Accessories. Collars, chalk, straps — cheap ones do the job. Upgrade later only if you hit a real limit.
Three setup levels to plan around:
One honest note: the prices above are retail prices. If you buy enough equipment to work with a manufacturer directly — say, a full dumbbell set plus multiple bars and racks — you can save a significant amount. We will cover that in the next section.
| Level | What You Get | Best For |
|---|---|---|
| Entry | Barbell + 160kg plates + squat stand + flat bench + dumbbells 5–20kg | Getting started on a tight budget |
| Standard | Adds a full power rack with spotter bars, adjustable bench, kettlebells, proper flooring | Most home lifters |
| Complete | Full dumbbell set 2.5–50kg, multiple bars, plate tree, wall storage, cable attachment | Serious lifters and personal trainers |
Step 4: Retail vs Buying Direct from the Factory — The Option Most People Don't Know
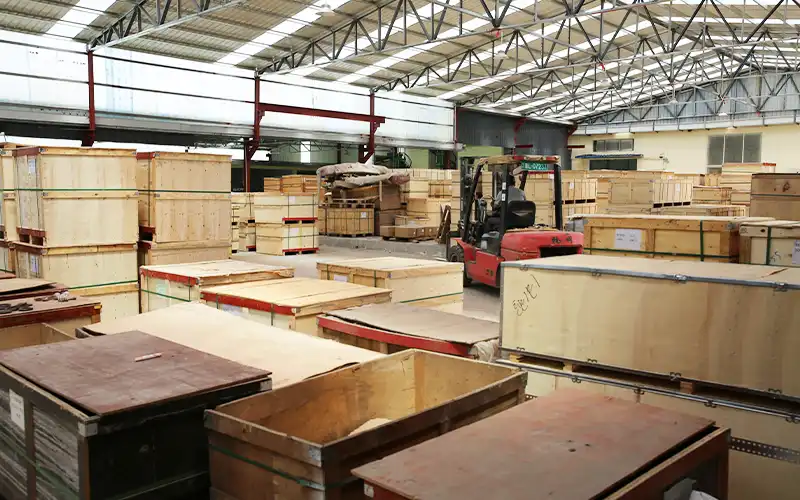
Here's something most home gym guides will not tell you: retail equipment passes through importers, distributors, and stores. Each one adds their own margin. When you buy in serious quantity, working with the manufacturer directly cuts out those layers.
When buying direct makes sense:
• You are a personal trainer or studio owner setting up a training space. You need a full rack, multiple bars, a dumbbell set, kettlebells. That is exactly the kind of order where factory pricing kicks in.
• You want a matching, branded set. Retail sets are a mix of whatever is in stock. A manufacturer can produce a full matching dumbbell set from 2.5kg to 50kg. Consistent color and finish. And they can stamp your logo on it if you want.
• You are equipping more than one space. A home gym plus a holiday rental. Or a small studio plus a client's garage gym. Two orders instantly justify direct sourcing.
• You know exactly what you want. If you can specify "rubber hex dumbbells, 2.5–50kg, with rack" and wait for a container, direct buying is straightforward.
When it does NOT make sense:
• You are buying one or two items and need them this week. Buy retail.
• You are not sure what you want yet. You want to see and touch equipment first. Visit stores, then order direct once you know your spec.
• You are not willing to plan ahead. Factory orders have minimum order quantities (MOQs). For dumbbells, that is usually 50–200 units per weight class. Production takes 3–6 weeks. This is not impulse buying.
How it works in practice: You contact a manufacturer with your list. They quote FOB or EXW pricing. You confirm specs (weight range, coating, colors). Production starts. Goods ship to your port. For a trainer setting up one studio, this is usually a 4–8 week timeline from first quote to delivery.
The honest math: retail prices include several layers of markup. Factory pricing removes those layers. For anyone buying a full kit, the saving is usually enough to pay for another piece of equipment. Ask for a factory quote and compare for yourself.
Have questions about your specific requirements?
Talk to Our Team →Step 5: The 7 Home Gym Mistakes That Waste Money
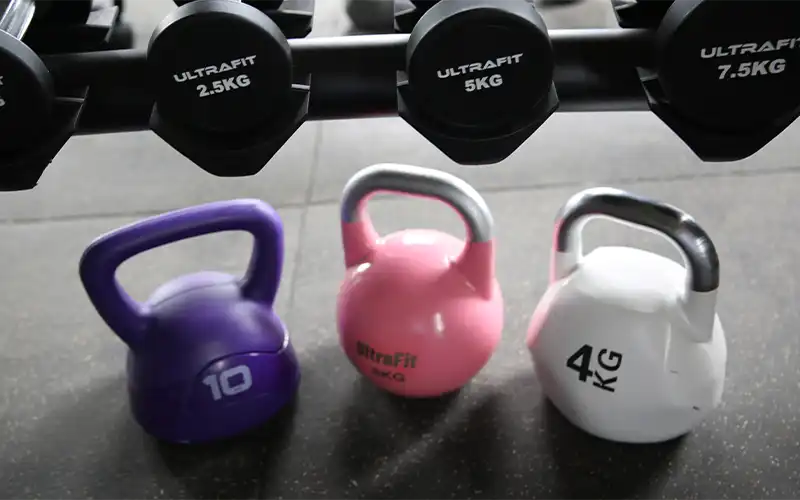
You can read every buying guide and still make the same mistakes as everyone else. Here are the seven most expensive ones — and how to avoid each.
1. Buying equipment before measuring the space.
You buy a 2.2m Olympic bar for a 2m-wide room. This happens all the time. Measure the room, the doorway, and the ceiling height first. Then buy.
2. Skipping floor protection.
A dropped 20kg plate on a concrete floor chips the plate and cracks the floor. On a wooden floor, it leaves a permanent dent. Flooring is not optional. 15mm rubber tiles are the minimum for a free-weight zone.
3. Buying a bargain barbell.
A very cheap bar with "300kg capacity" stamped on it will bend, spin unevenly, and rust. Usually within a year. A quality bar costs more upfront. It lasts 10+ years. This is the single worst place to save money.
4. Buying everything at once.
Most people abandon their home gym within a year. Why? They bought too much, too fast. Start with the core setup. Train for 3 months. Then add what you actually miss. This saves money and keeps the room usable.
5. Ignoring noise.
Dropping loaded bars in an apartment is not just annoying. It can get you evicted. If noise matters, choose bumper plates (quieter bounce) and rubber flooring. Think about where the rack sits relative to shared walls.
6. Buying "one size" equipment.
A 20kg men's Olympic bar is useless for most women and many beginners. The 28mm shaft and 20kg weight are too much to handle. Buy the right bar size for the people actually training on it.
7. No room to grow.
You buy a squat stand today. You upgrade to a full rack next year. Now the stand takes up space you no longer have. Plan the final layout first. Then buy what fits it — even if you buy in stages.
Your 30-Day Home Gym Action Plan
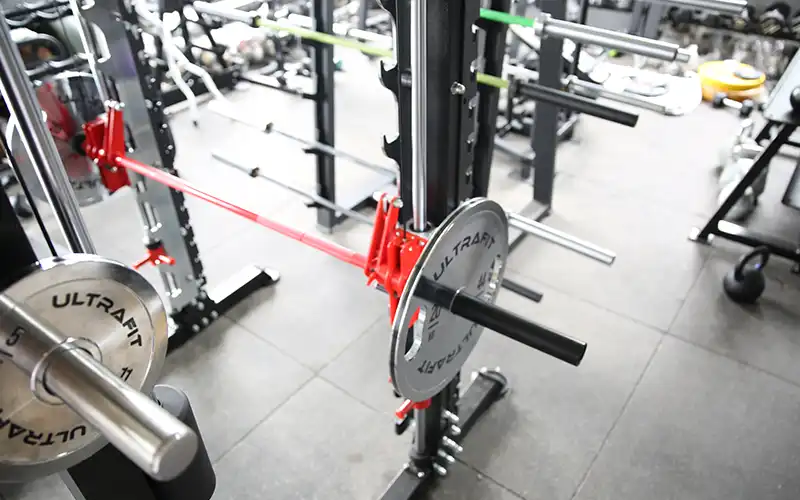
Here's how to put all of this together — a realistic 30-day plan from empty room to working gym.
Week 1: Plan and measure. Measure your space, ceiling height, and doorways. Decide your training style and pick a configuration from Step 2. Set a total budget and split it: 50% rack + bar, 25% plates, 15% bench + accessories, 10% flooring.
Week 2: Flooring and layout. Install rubber flooring in the training zone. Map where the rack, bench, and dumbbells will go using the 1-meter clearance rule. Mark the layout with tape.
Week 3: Order the core. If you're buying retail — order rack, bar, plates, and bench. If you're buying factory-direct — this is when you contact manufacturers, compare quotes, and place your order (production starts after your spec is confirmed).
Week 4: Assemble and test. Assemble the rack, load the bar, and run through your first full session. Test clearance around every station. Adjust the layout before you add more equipment.
One final reminder: the goal is a gym you actually use. A simple setup that you train in three times a week beats a fully-equipped room you never enter. Start small, train consistently, and add equipment only when you know what you're missing.
Frequently Asked Questions
- 1. How much space do I need for a home gym?
- A functional home gym needs about 12–15 square meters (130–160 sq ft) of usable floor. A 3m × 3m zone for the rack plus a 1.5m × 1.5m dumbbell zone is the practical minimum. Check ceiling height too — you need about 2.3m of clearance for overhead press.
- 2. What is a realistic budget for a home gym?
- It depends on your setup level. An entry setup (barbell, 160kg plates, squat stand, bench, basic dumbbells) is the smallest spend. A full setup with a power rack, adjustable bench, kettlebells, and proper flooring costs more. A complete gym with a full dumbbell set and multiple bars costs the most. Prices vary a lot by brand and region — so the smart move is to get quotes and compare, including a factory quote if you buy in quantity.
- 3. Can I really save money buying equipment directly from a manufacturer?
- Yes, if your order size justifies it. Retail prices include importer, distributor, and store margins. Factory pricing removes those layers. This makes sense for trainers, studio owners, and anyone equipping multiple spaces. For one or two items bought this week, retail is simpler. The best way to know the real saving is to ask for a factory quote and compare it with retail prices.
- 4. Dumbbells or kettlebells — which should I buy first?
- Dumbbells are more versatile for most people — they cover pressing, rows, curls, and lunges with one set, and a 5–25kg rubber hex set is the best value starting point. Add kettlebells (start with 8, 12, 16kg) once you want more conditioning work. If you train kettlebell sport specifically, buy kettlebells first.